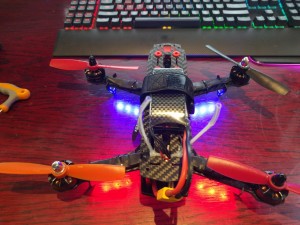
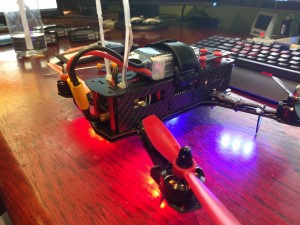
This was my first quad and it’s a great flier, however out of the box there is a few issues that I would like to address here.
We now sell some falcons at a premium price with all this stuff completed.
- Remove motor mounts and reinstall motors – 15 Minutes
-
Upgrade to betaflight as per this guide – 20 Minutes
This includes:
Flashing CC3D with betaflight
Reconfiguring Receiver
Setting all PID’s
Setting Up Flight Modes - Move receiver to front instead of back, this gives you easier access to the Flight controller when plugging in USB, also gives better routing for antennas – 5 Minutes
- Attach Antennas with cable ties, heat gunt shrink tube and route through the top. They are usually floating at the back where power is routed, and the antennas get chopped in first flight
 – 15 Minutes
 - Do a test flight and check all flight modes/settings are correct – 5 Minutes
Total Time – 60 Minutes
Please see below pictures of some of the changes.
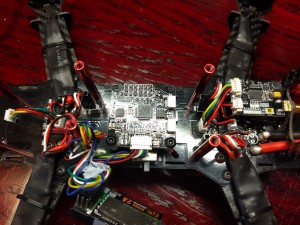
This Picture shows the inside of the Falcon 250
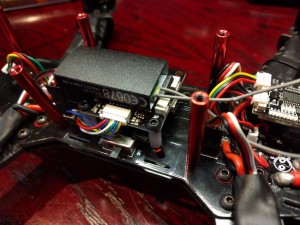
This Picture shows the receiver being reverse mounted to default. It gives you easier access to usb connection if you fly with sides off, and also easier routing of antennas as per next pictures.
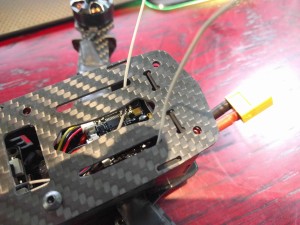
Shows you where to pull the antennas through
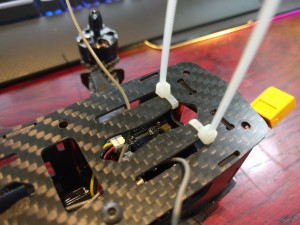
Shows where to mount cable ties
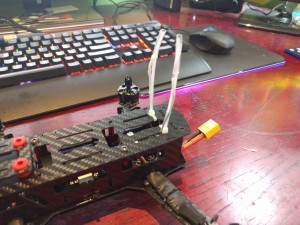
Shows antennas pulled through next to cable ties
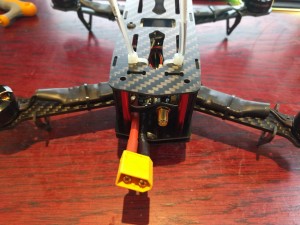
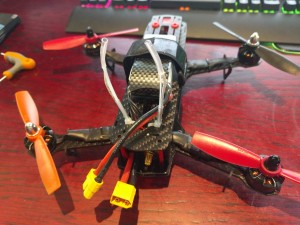
Heatshrink makes antennas stuck to cable ties


